Zigbee wireless lighting control enables timings and different lighting situations for almost any lighting fixture in the home using Zigbee wireless control receivers, controllers and hubs. This article will go through the components of Zigbee smart lighting, how to pair with wireless controllers, and tips for typical problem areas based on experience. So far, the interfaces we’ve had the most positive experience with are Samsung Smart Things and Philips Hue (autumn 2022), which we’ll discuss how to pair with hubs (bridge) in the next part 2. The interfaces allow mobile control from a mobile phone or multiple mobile phones and tablets, as well as the creation and timing of a wide range of lighting situations.
Devices paired without a hub
Zigbee devices can be connected without a bridge/hub. They are then connected to each other via a wireless RF (radio frequency) link, creating a mesh network between them. They do not use any other network, such as the home network, and are therefore not dependent on the home network. The luminaires can always be accompanied by traditional wired switches to turn the lights on and off. A wireless connection does not exclude this option, which is why wireless dimming is ideal for e.g. in renovation projects. Naturally, the lights must be switched on from the switch for the wireless control to work. We also offer a 230V wired dimmer, which can be connected to a wireless Zigbee button (and a hub (bridge) if desired). In addition, four groups of colour temperature control and dimmer, which connects both 230V and wirelessly to 1-4 groups of lights. These buttons can also be added to a hub, or bridge, to enable automatic functions.
Zigbee smart lighting components available from LedStore
In a nutshell, the components of smart lighting are: luminaires and drivers (power supplies), receivers, controllers and hub, and the user interface. LedStore’s range includes all parts except hubs and mobile interfaces (as at 2.11.2022).
Of course, the basis of lighting is the luminaires themselves. As LedStore is a lighting professional, our products naturally go before the quality of the light and the quality of the lamp. With the advent of Zigbee and the IoT world, new possibilities have emerged for smart lighting, and our luminaires have also jumped into the Zigbee era. Zigbee compatibility is about wireless receivers and matching controllers, as well as the hub and interface for mobile control, timing and programming.
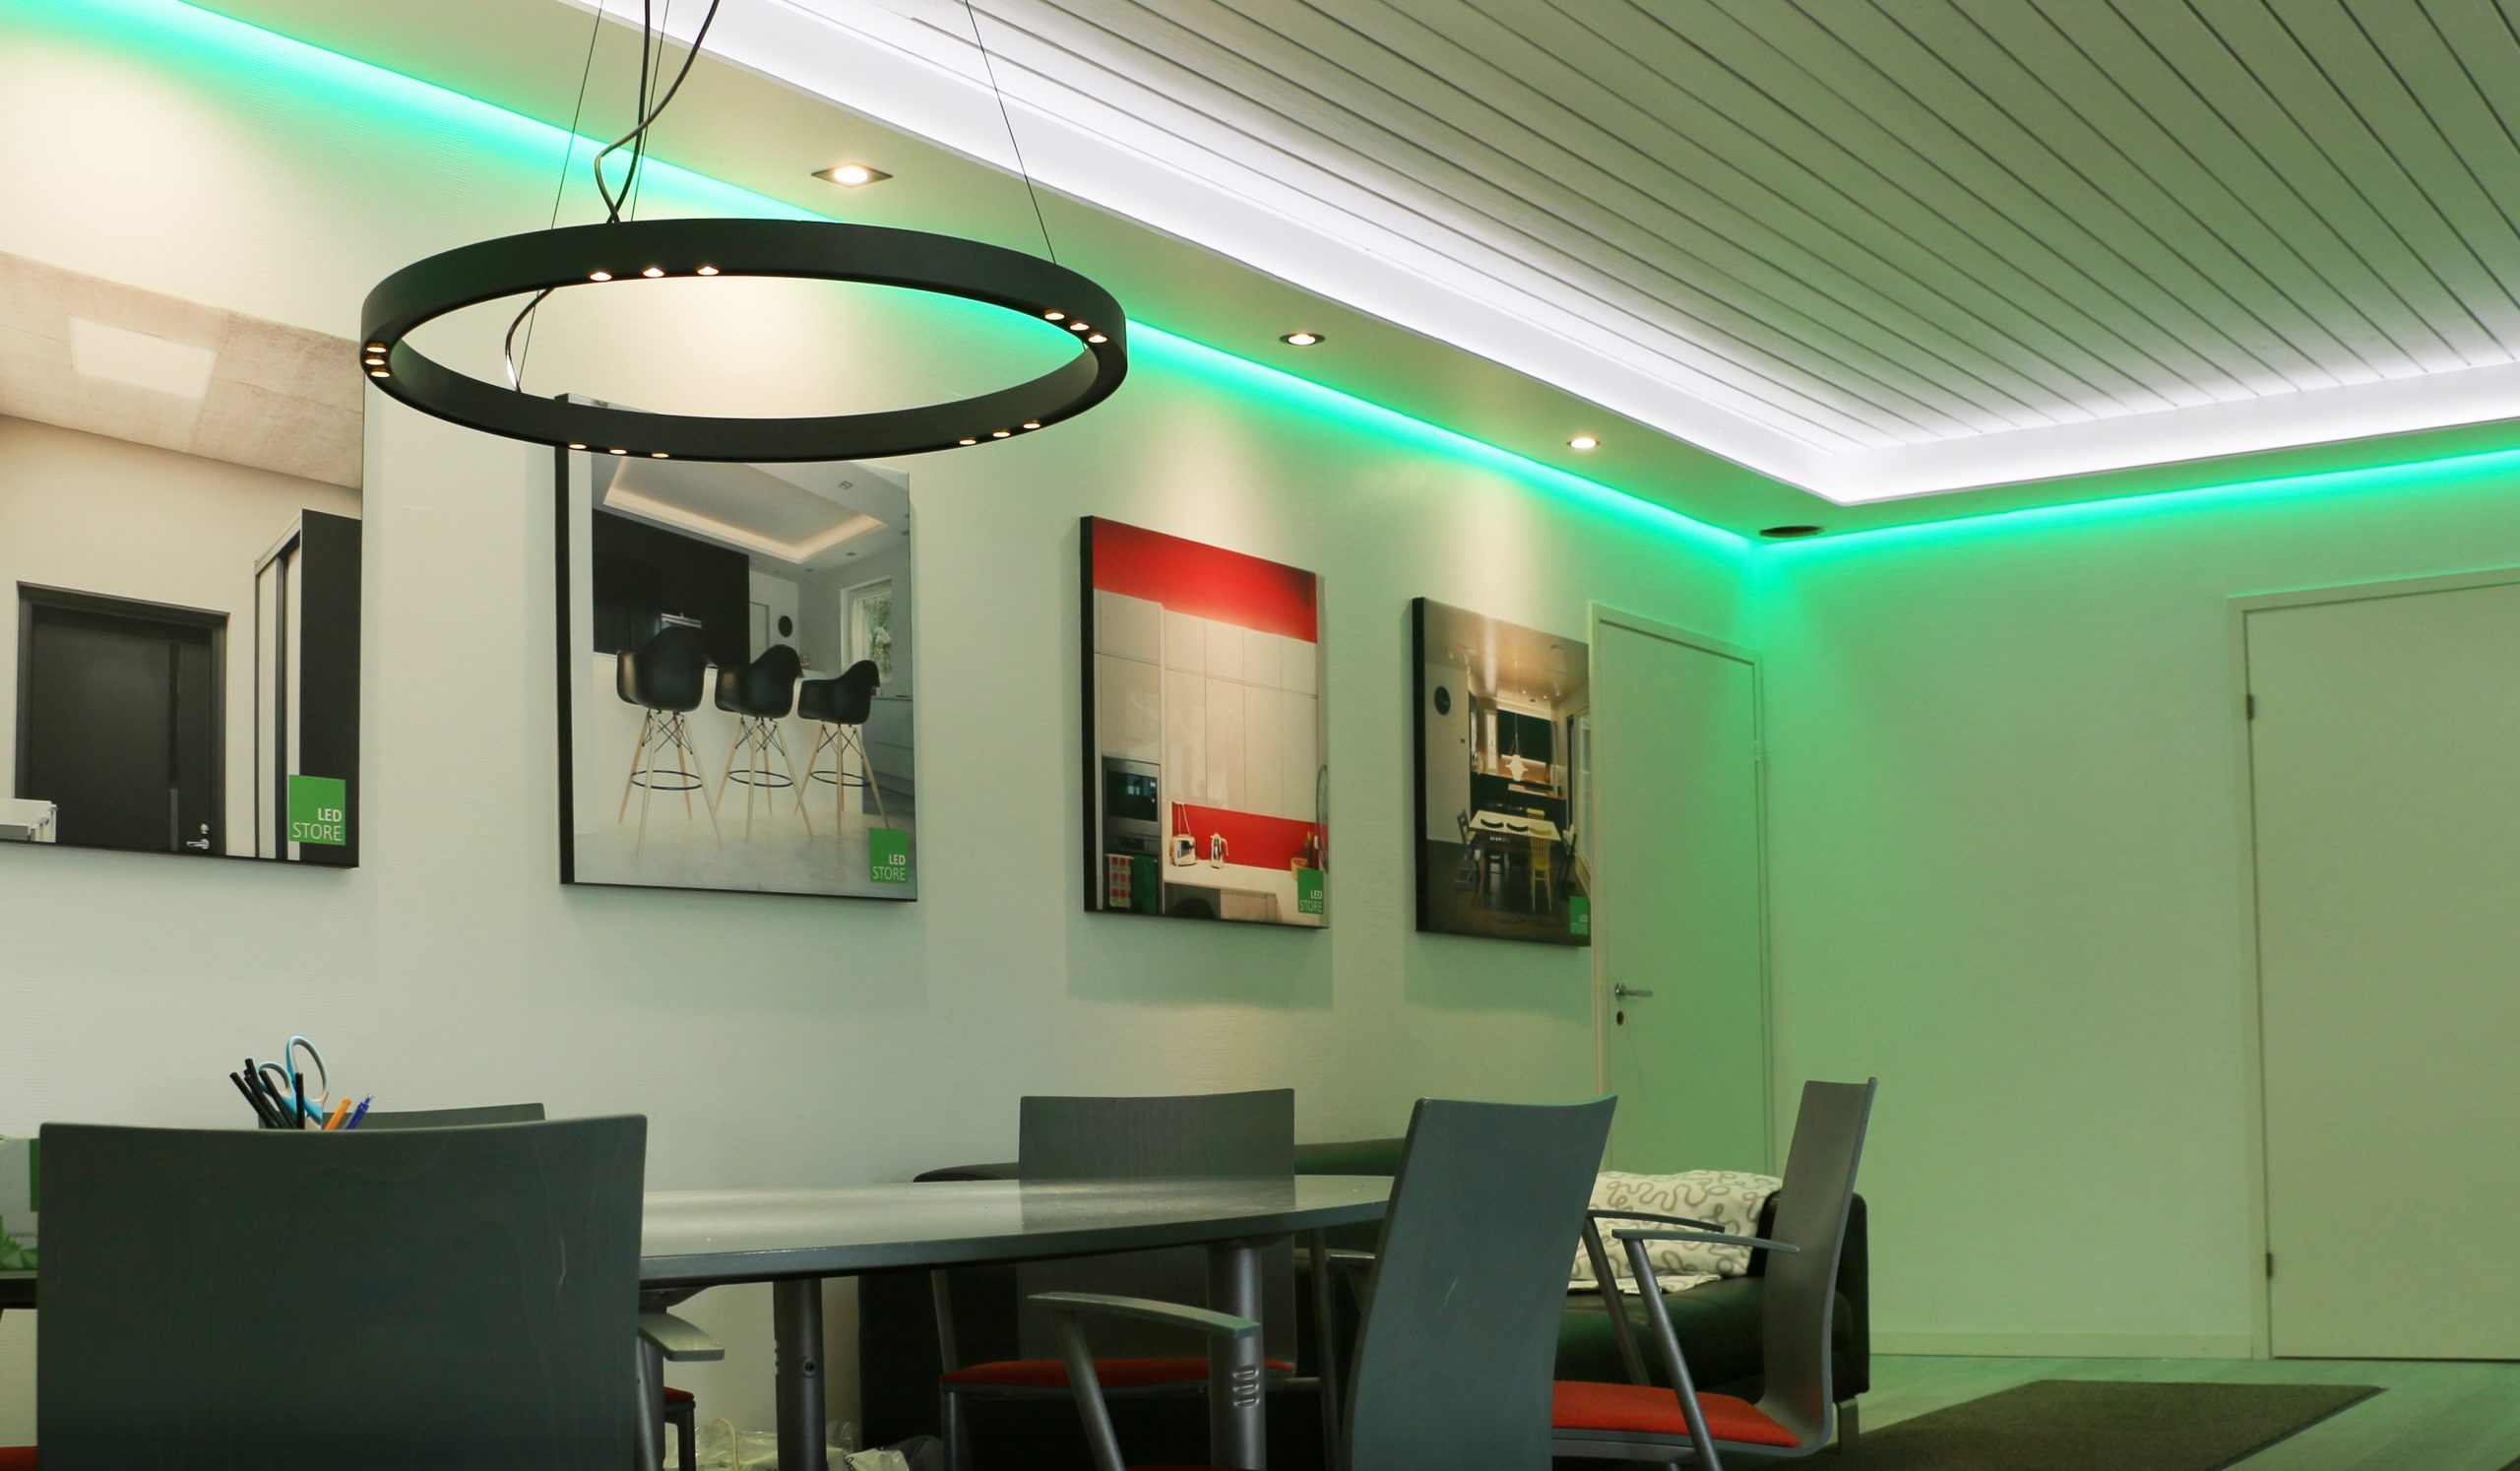
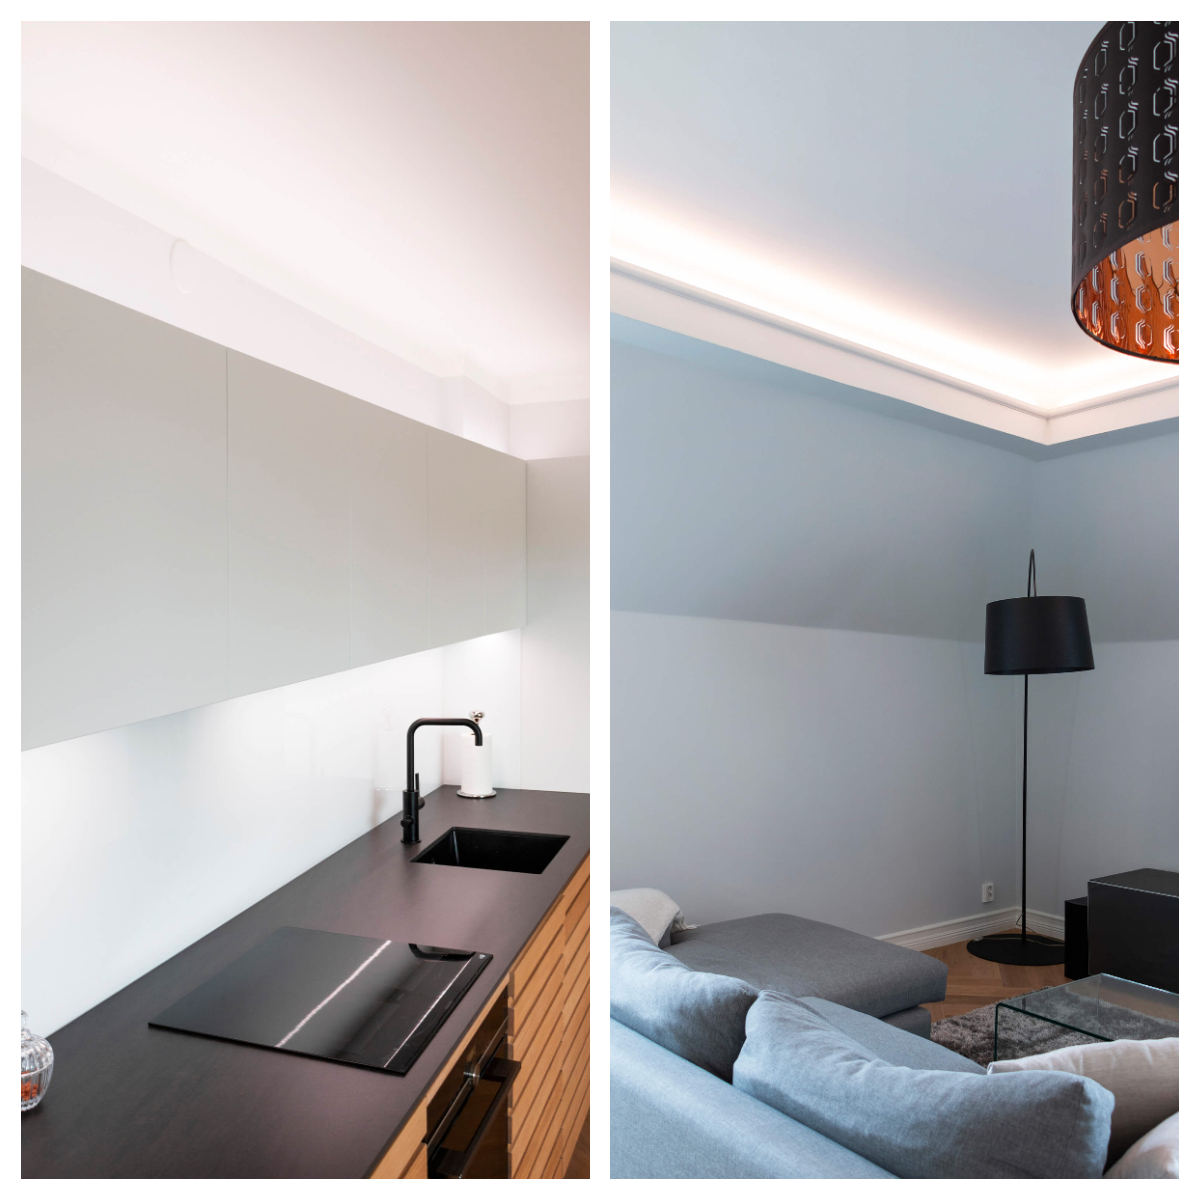
Our downlights, or spotlights, and LED strip lighting solutions are the most widely used for intelligent lighting control. The third major product group is LED panels. We have both receivers and controllers for these. For Zigbee operation, the standard power supplies of lights can be replaced by group transformers (which always include a receiver), or a receiver can be added to the front of the group to pair with the pushbutton.
Our range also includes LED bulbs that work with Zigbee control. As a controller for the bulbs, we recommend using the Friends with Hue wall button from our range and the Philips Hue hub ( hub/bridge not in our range). By default, the bulb works with mobile control on all Zigbee systems. A Zigbee bulb is an easy product to start experimenting with smart lighting. It needs a suitable light, E27 or GU10, and Zigbee control. The burners feature dimming and colour temperature control. The colour rendering index or CRI of the bulbs is a top 98.
Transformers, receivers and controllers are the core of Zigbee
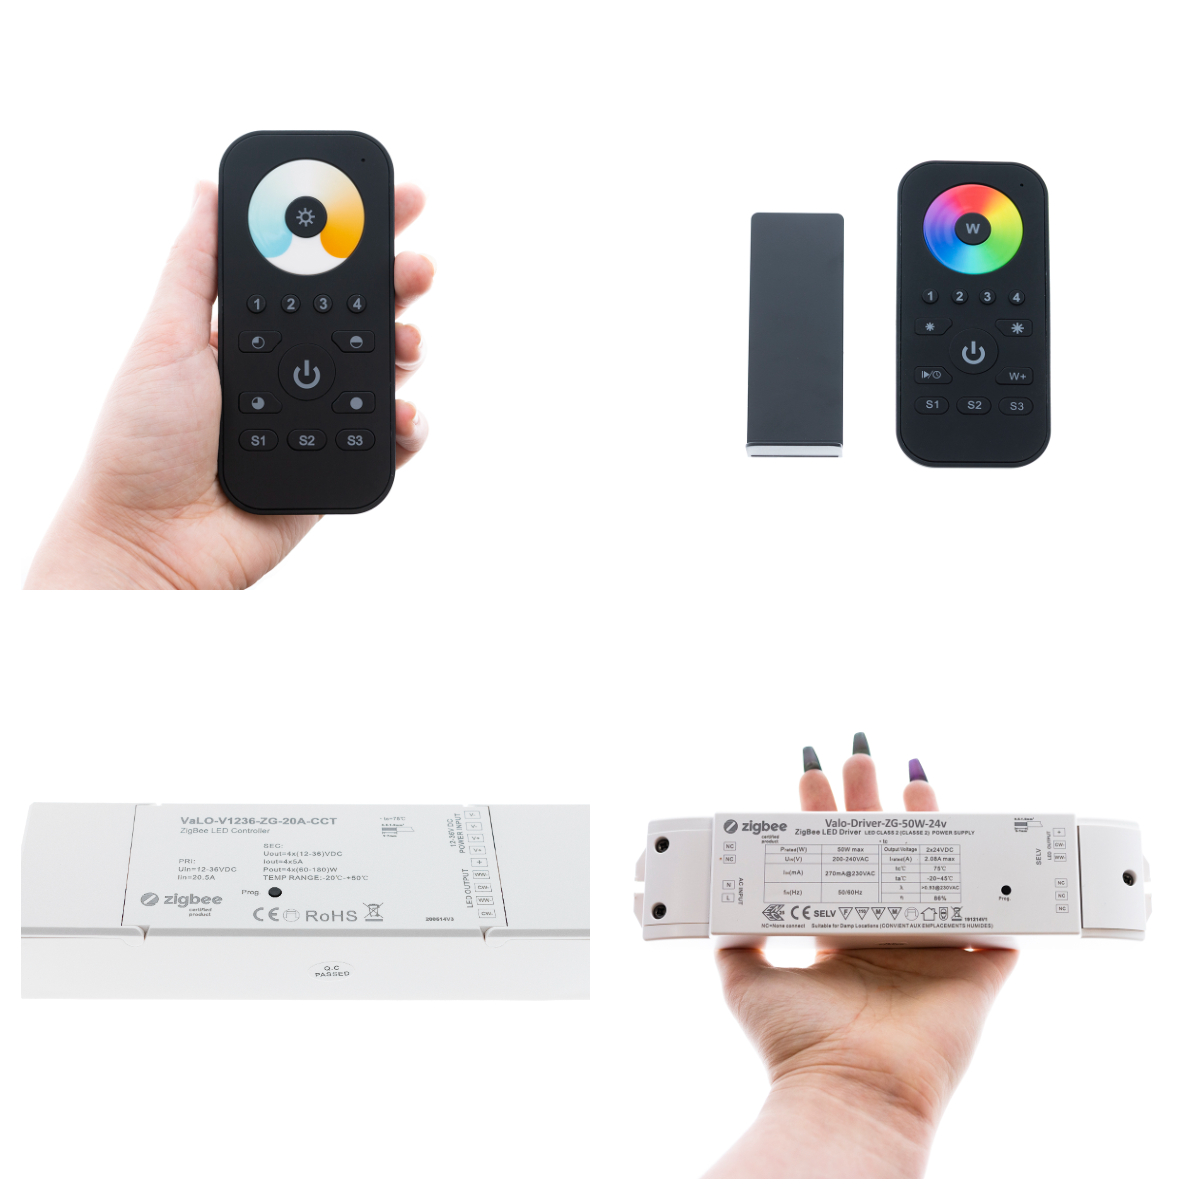
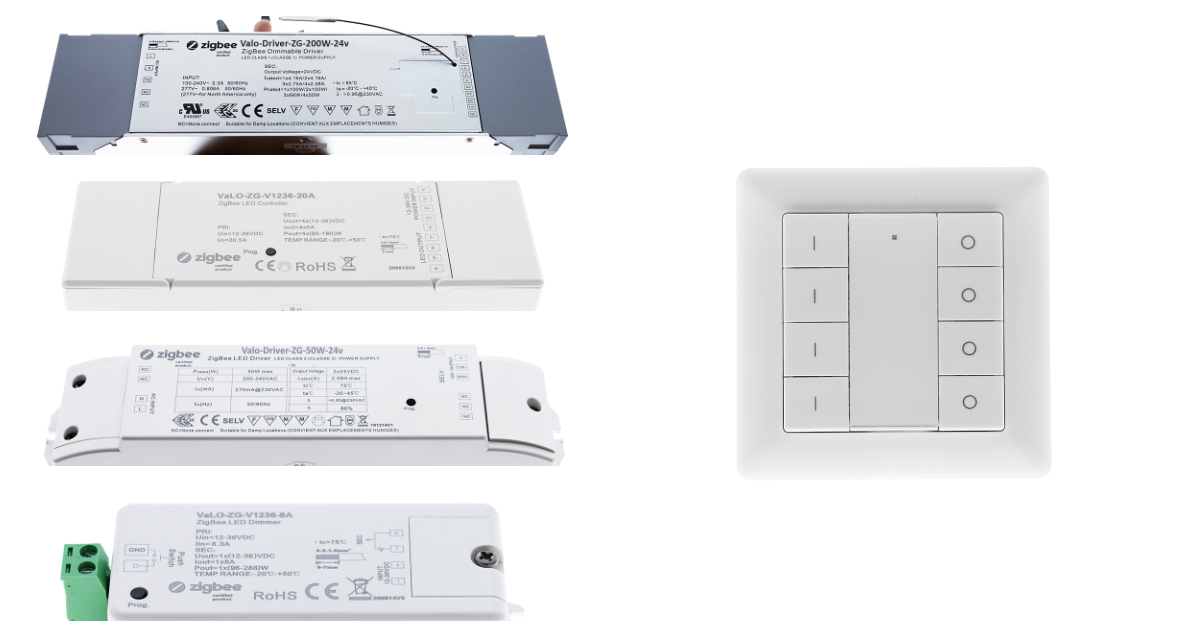
We offer Zigbee-controlled lighting solutions for almost all 24VDC luminaires. drivers (power supplies) that include a Zigbee receiver. If the luminaire already has a power supply as an integral part, a receiver can be connected to the mains or low-current or secondary side. Zigbee receivers (receiver or controller) bring intelligence to the lighting, i.e. the possibility of timing and programming via an interface. The receiver is the factor that determines which lights are obeyed in which group. When the right type of receiver is added to a group of luminaires, it can be connected to the desired system, such as Philips Hue or Samsung Smart Things via a bridge or hub.
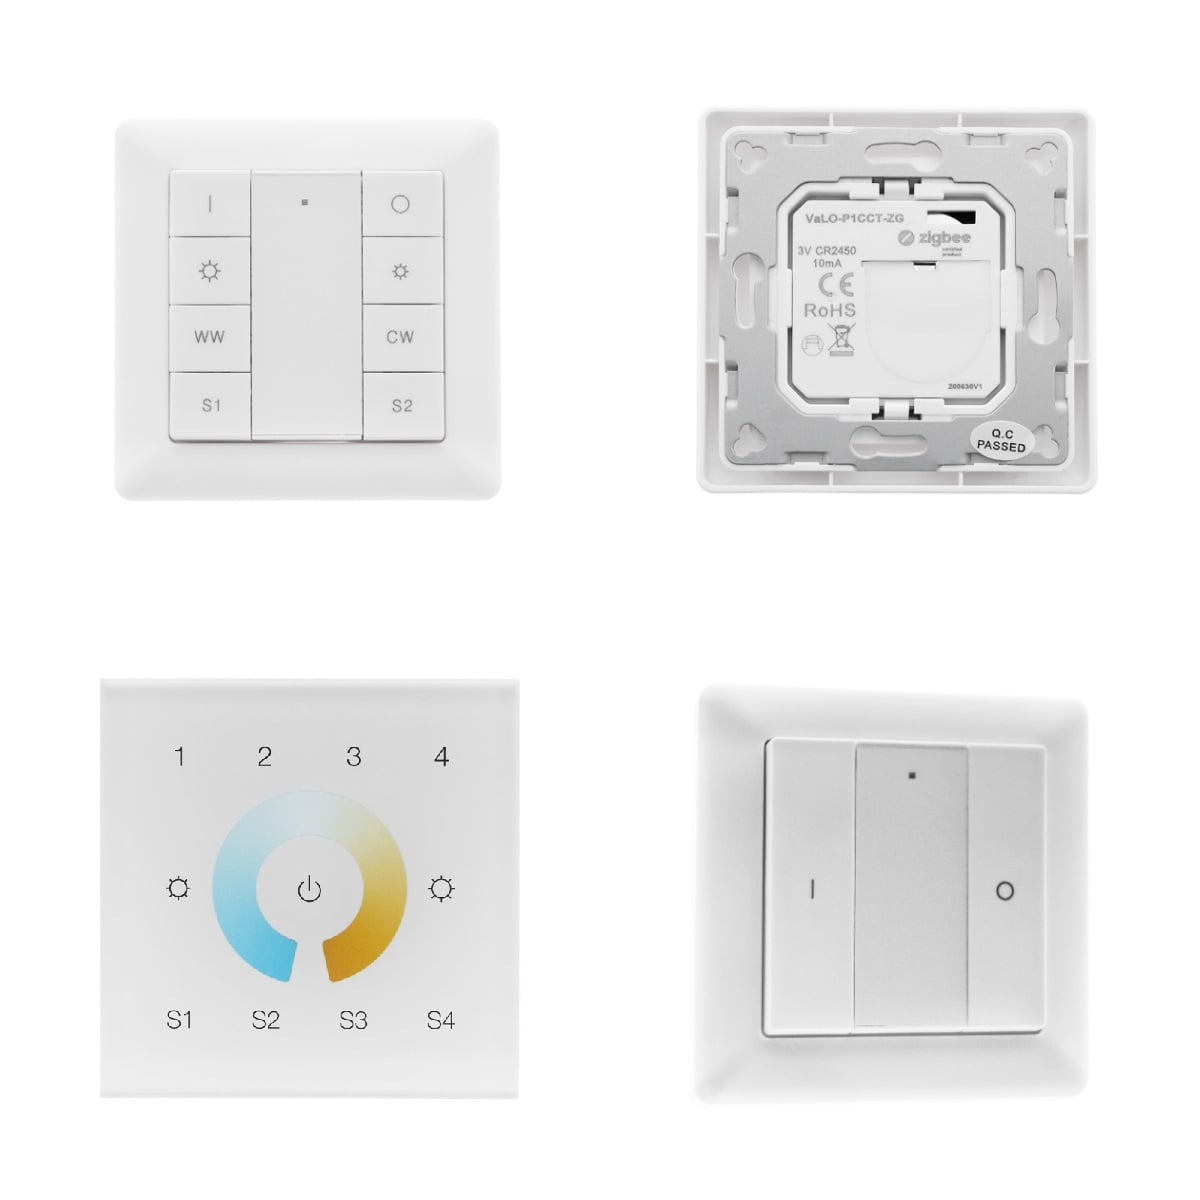
It often makes a lot of sense to install wall-mounted controllers in addition to mobile controllers. This can also be a starting point to get the lights working, even if the Zigbee programming is to be done later. LedStore has a range of wall dimmers and controls for lighting control, including remote controls for colour temperature and dimming.
In a dimmable lighting control system, it is also possible to operate a dimmer combining wired control, i.e. a mains-powered controller, and wireless control, which can control four groups of dimmable luminaires simultaneously or separately.
Zigbee can be deployed without a bridge or with a bridge and an interface
It is essential that the controllers (i.e. wall buttons, remote controls) and receivers (i.e. receivers or controllers) are compatible, i.e. use the wireless Zigbee protocol. Compatibility is identified by the word “Zigbee” in the product name, and the letters ZG in the product code. Zigbee-controlled lighting can also be connected without a hub/bridge, with one button or controller controlling one group of luminaires wirelessly at a time. If the full benefit of the system is to be realised, a bridge and an interface is needed where programming and grouping can be done.
LedStore’s Zigbee devices are compatible with a wide range of smart lighting systems. You can read more about Zigbee in the Zigbee product category of our online shop. We use version 3.0 on our devices, which is compatible with all previous versions.

Pairing of lighting without a bridge/hub
Lighting such as LED spots, panels or LED strips can easily be made to work wirelessly with Zigbee control by pairing a power supply with a single receiver/receiver and a single button/controller. The connection can be made using the Touch Link method. No bridge or interface is needed.
TIP: With Touch Link, the connection is made by moving the controller to less than 10 cm from the receiver, so it is best not to move devices into awkward mounting locations or screw them into their operating positions before pairing.
TIP: Remember to activate the power supply to the controller by removing the plastic cover between the batteries. Please also note that remote controls that use AAA finger batteries do not include batteries (3 required).
Before connecting, it is a good idea to reset the receiver to the factory settings. factory reset. In almost all devices, resetting the receiver/transformer with receiver is done by switching on the power and pressing prog five times. button.
If the device has been reset, the pairing connection is activated by switching on the device. If the power is not disconnected in between or a reset was not performed, the pairing mode is activated by tapping the teach button of the receiver or the transformer containing the receiver four times (small black button with the word prog.). The connection is open for 180 seconds. Then move on to the second step of the Touch Link connection of the controller, and follow the instructions.
Example: four groups of dimmer controllers, Help 4 Touch Link pairing with Zigbee device
- Start with steps 1 and 2, i.e. switch on the power, and set the receiver in pairing mode.
- Continue setting the button by pressing once on the I-group to which you want to connect, step 3
- Then press the top two adjacent buttons (on and off) until the green light on the controller lights up, step 4
- Then press the second on button in sequence and the connection will start. The LED at the top of the button will start flashing rapidly, then six times slowly when a connection is established. The lamps in the junction will also flash twice, step 5.
OR if you want to do a Quick Start, the steps are as follows: press the left I button on the group you want to pair with and the right button on the bottom button simultaneously for more than 3 seconds to activate the pairing mode. It takes about 10 seconds to connect, during which time the LED on the button and the lights connected to the transformer will flash.
You can find the full manual on the LedStore website under the Product Accessories tab of the Zigbee four-piece vibrator product page.
We have also made a video about pairing which can be found at the link: 24V Zigbee CCT LED driver 100W demonstration video, pairing the transformer to dimmers 1os, 2os, and 4os
Recommended colour temperature and dimming control:
- start by pressing and holding the on button until the green LED lights up, Touch link step 3
- press once on the second button in the controller sequence, below the on button. The LED starts flashing rapidly, then six times slowly when the connection is established. The lamps in the socket also flash twice. Touch link step 4
So the lighting is controlled by a controller, on the principle of one receiver + one button.
A quick guide can also be found for this button.
You can find the full manual on the LedStore website on pairing a ZigBee CCT controller file:///C:/Users/blogi/Downloads/valo-p1cct-zgkyttohjesuomi1.10.2021%20(1).pdf
TIP: When setting up a Touch Link, step four should take place as soon as the indicator light on the controller is lit at the end of step three. There is no need to rush through the other steps.
TIP: If the lights do not flash to indicate a successful connection, wait at least three minutes to make sure the Touch Link process between the receiver and the controller is complete. A failed pairing is caused by either the receiver or the controller not finding each other. They may have gone into the wrong connection mode, or they may already be connected to another device. In this case, first check the electricity supply. The equipment must be switched on during pairing. Perform a factory reset for both devices. Make sure that the reset goes through the controller, i.e. depending on the controller, the indicator light will usually flash three times to indicate a successful reset. The reset of the receivers is indicated by the fact that the lights connected to the rear of the receiver flash three times. Calmly redo the connection process.
A luminaire may have the following features:
- dimming, or on/off operation
- dimming and white light colour temperature control (CCT)
- dimming and colour changing (RGB)
The receiver or the driver containing the receiver is selected according to the characteristics of the luminaire / the desired use of the luminaire. The controller is usually a battery-operated, free-standing, wall-button style dimmer/colour thermostat/colour control. They work for one, two or four receivers. There are also remote controls, which makes it easier to specify the colour of an RGB LED strip, for example, because the control has a visual colour wheel.
Dedicated drivers and controllers for colour temperature and colour-changing lights
When you want to dimmable temperature-controlled lights, and control their colour temperature (the shade of white light), you choose the appropriate drivers and dimmers. In addition, colour-changing LED strips are available, controlled by a selection of drivers and controllers suitable for RGB luminaires. Additional RGB+CCT LED strip with one low-current receiver (SKU Valo-v1236-ZG-40A-CCT-RGB) and two different models of controllers, a remote control (SKU Valo-R3-CCTRGB-ZG) and a wall-mounted wireless controller (SKU VALO-P1RGBCCT-ZG-W) (August 2022).
We write about smart lighting and how to control and pair it
For other articles in the series on Zigbee, see the links below:
- part 1 you’re reading it now 🙂 zigbee lighting control master part 1
- part 2 Zigbee lighting control master part 2
- part 3 Zigbee lighting control, part 3
- part 4 Zigbee CCT smart lighting from an installer’s perspective – Zigbee lighting control part 4
- part 5 Zigbee lighting control master part 5 – pairing like this
A collection of articles, including renovation projects where this approach has been used, can be found in the blog category : https://ledstore.fi/blog/category/zigbee/